Installation Guide
Java Installation
Installation Guide
Here is a step-by-step guide for installing Java on a Windows machine:
-
Download the Java SE Development Kit (JDK) from the Oracle website: https://www.oracle.com/java/technologies/javase-downloads.html (opens in a new tab)
-
Click on the "Download" button for the latest JDK release.
-
Accept the Oracle Binary Code License Agreement for Java SE, then select the appropriate installer for your system. Make sure to select the correct version (e.g., Windows x64 if you are running a 64-bit version of Windows).
-
Once the download is complete, double-click on the installer file to begin the installation process.
-
Follow the prompts to complete the installation. You will be asked to specify a destination folder for the JDK files. It is recommended to use the default location, unless you have a specific reason to install it elsewhere.
-
Once the installation is complete, you will need to set the JAVA_HOME environment variable to the location of the JDK installation. To do this, follow these steps:
- Right-click on "This PC" and select "Properties"
- Click on the "Advanced system settings" link on the left side
- Click on the "Environment Variables" button
- Under "System Variables", scroll down and find the "JAVA_HOME" variable
- Click "Edit" and enter the path to the JDK installation (e.g., C:\Program Files\Java\jdk1.8.0_241)
- Click "OK" to close the Environment Variables window, then "OK" again to close the System Properties window
java -versionIf Java is correctly installed, you should see output similar to this:
java version "1.8.0_241"
Java(TM) SE Runtime Environment (build 1.8.0_241-b07)
Java HotSpot(TM) 64-Bit Server VM (build 25.241-b07, mixed mode)
IDE Installation Guide
Installation Guide
There are several Integrated Development Environments (IDEs) that are well-suited for developing applications with the Spring Boot framework. Some popular options include:
-
Eclipse: Eclipse is a popular open-source IDE that is widely used for Java development. It has excellent support for Spring Boot, including features such as code completion, debugging, and integration with the Spring Initializer tool for creating new Spring Boot projects.
-
IntelliJ IDEA: IntelliJ IDEA is a commercial IDE developed by JetBrains. It is widely regarded as one of the best IDEs for Java development and has excellent support for Spring Boot, including features such as code completion, debugging, and integration with the Spring Initializer.
-
NetBeans: NetBeans is an open-source IDE that is particularly well-suited for developing Java EE applications, including those built with Spring Boot. It has a number of features that are useful for Spring Boot development, such as code completion, debugging, and integration with the Spring Initializer.
-
Visual Studio Code: Visual Studio Code is a popular open-source IDE that is widely used for developing applications with a wide variety of programming languages, including Java. It has a number of features that are useful for Spring Boot development, such as code completion, debugging, and integration with the Spring Initializer.
-
Spring Tool Suite: Spring Tool Suite is a popular open-source IDE that is specifically designed for developing applications with the Spring framework. It has excellent support for Spring Boot, including features such as code completion, debugging, and integration with the Spring Initializer tool for creating new Spring Boot projects.
-
Atom: Atom is a popular open-source IDE that is widely used for developing applications with a wide variety of programming languages, including Java. It has a number of features that are useful for Spring Boot development, such as code completion, debugging, and integration with the Spring Initializer.
We recommend using IntelliJ IDEA . It is a commercial IDE developed by JetBrains. It is widely regarded as one of the best IDEs for Java development and has excellent support for Spring Boot, including features such as code completion, debugging, and integration with the Spring Initializer.
IntelliJ IDEA Installation Guide :
Installation Guide
-
Download the latest version of IntelliJ IDEA from the official website (https://www.jetbrains.com/idea/download/ (opens in a new tab)). You can choose between the Community edition (free) and the Ultimate edition (paid).
-
Run the downloaded installer file and follow the prompts to install IntelliJ IDEA.
-
Once the installation is complete, launch IntelliJ IDEA.
-
If you have purchased the Ultimate edition, you will need to register your license. To do this, go to "Help" > "Register" in the top menu and follow the prompts to enter your license information.
-
To open a project in IntelliJ IDEA, go to "File" > "Open" in the top menu and select the root directory of your project. Alternatively, you can use the "Import Project" option to import a project from a different location or from a version control system.
-
If you are creating a new Java project, you can do so by going to "File" > "New" > "Project" in the top menu and selecting "Java" in the project type list. Follow the prompts to set up your project.
Set up MySQL
Set up MySQL on a Windows machine,
you can follow these steps:
-
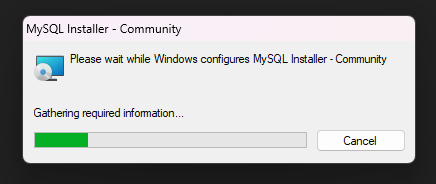
Download the MySQL installer from the MySQL website (https://dev.mysql.com/downloads/installer/ (opens in a new tab)).
-
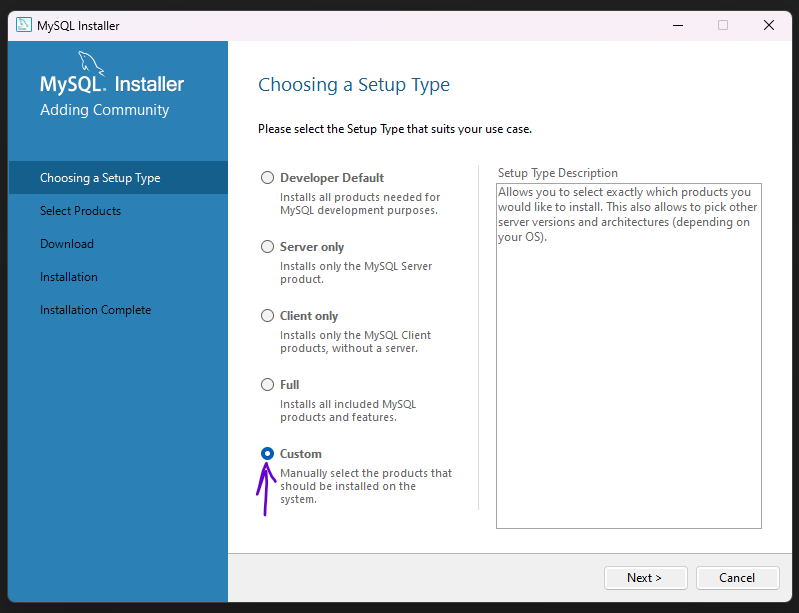
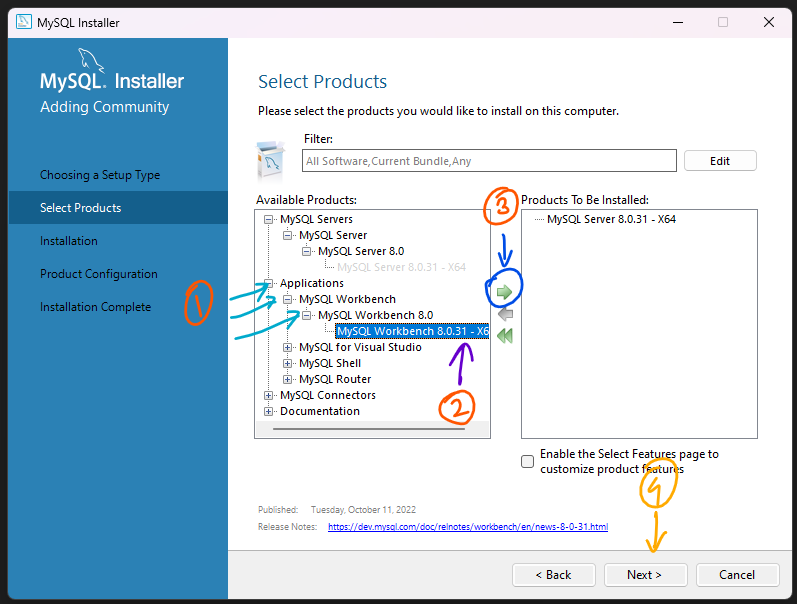
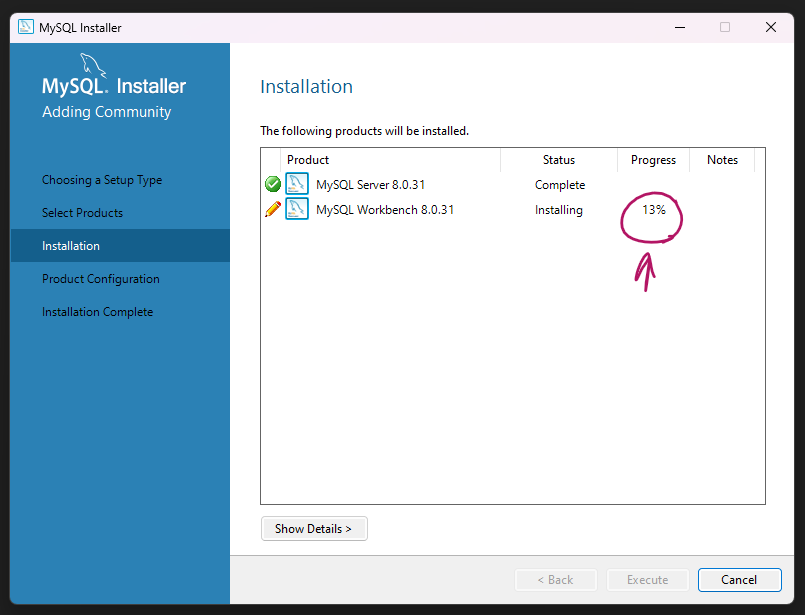
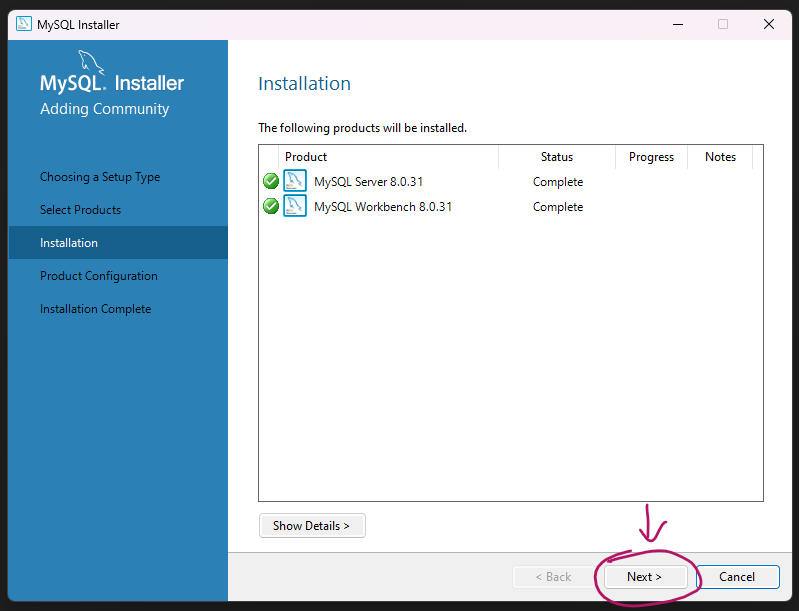
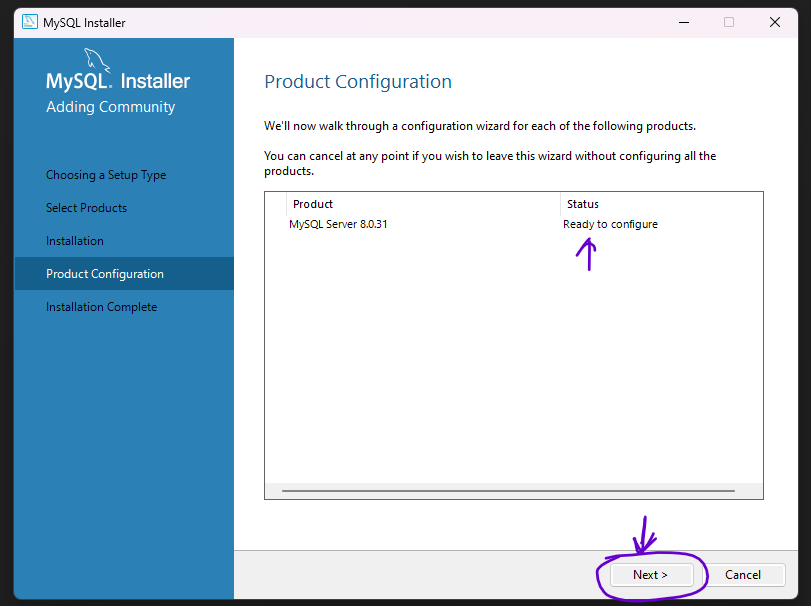
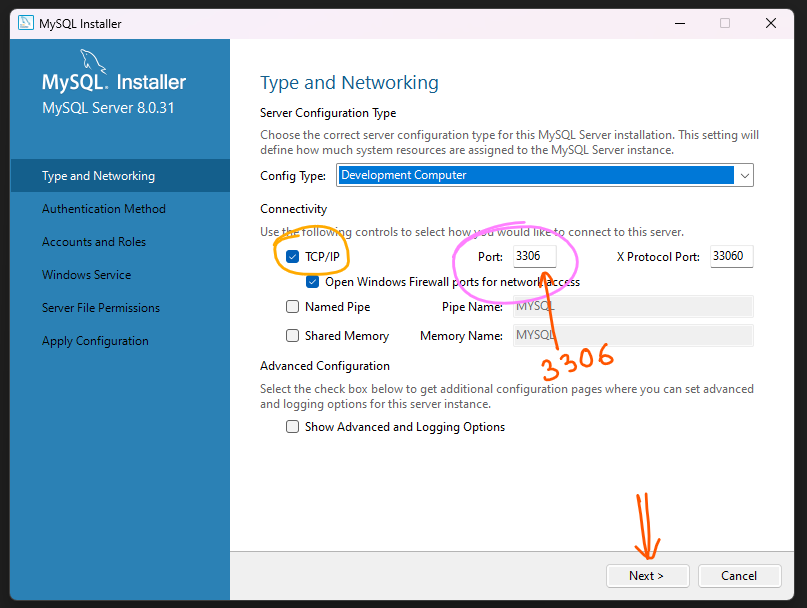
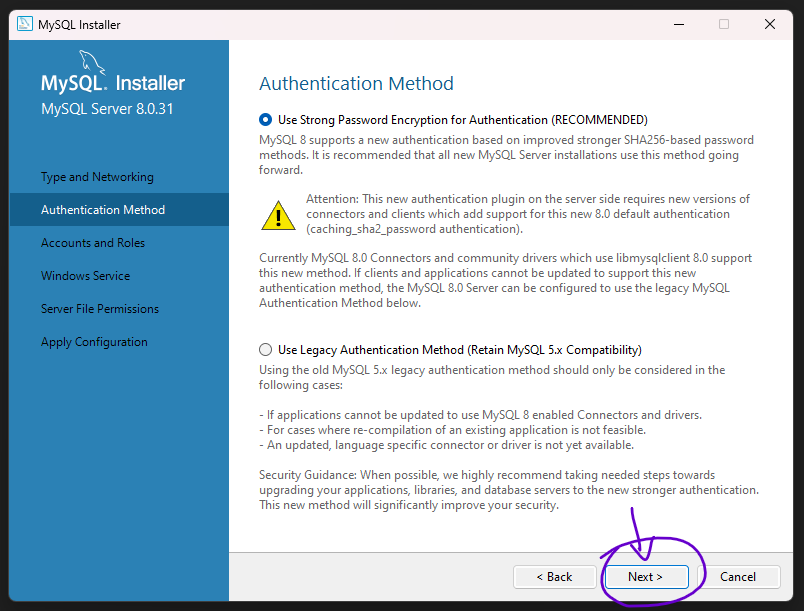
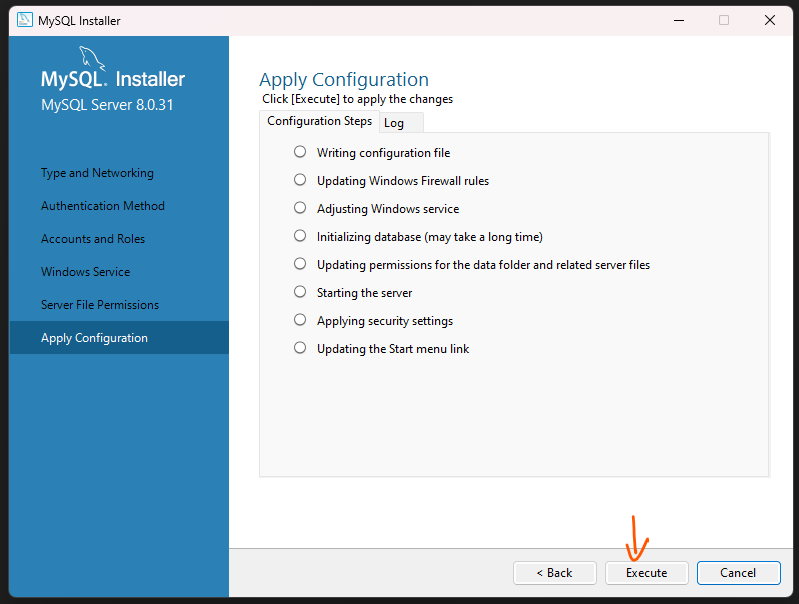
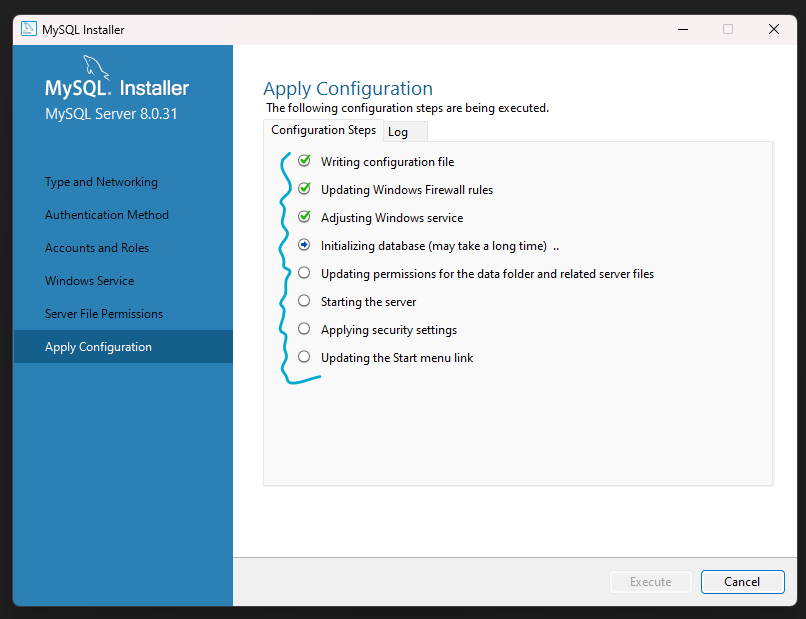
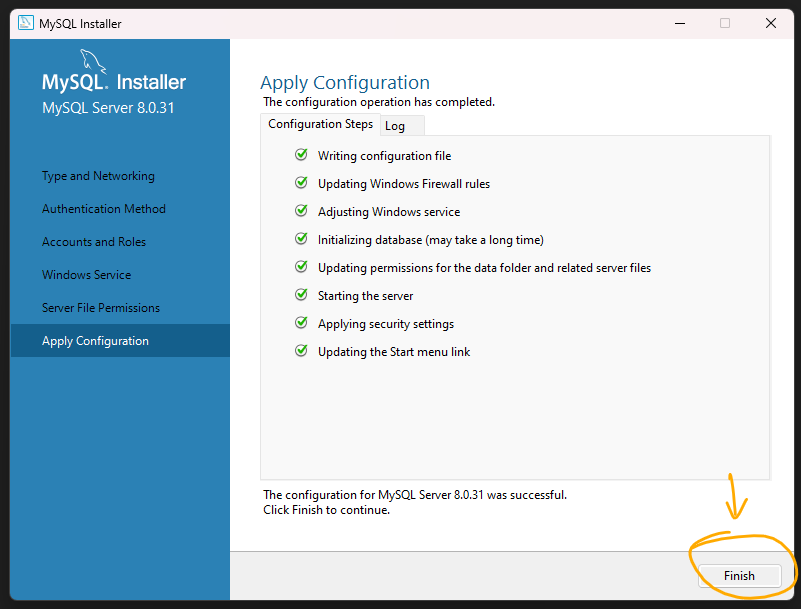
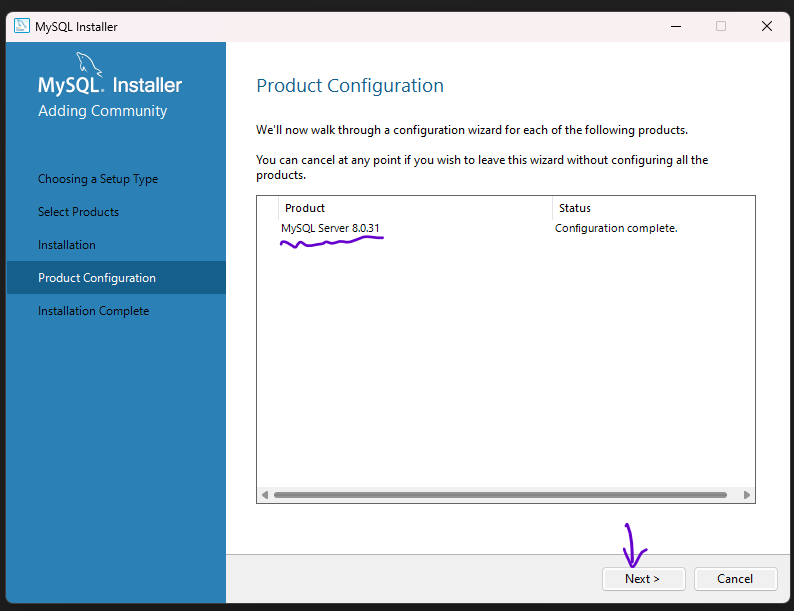
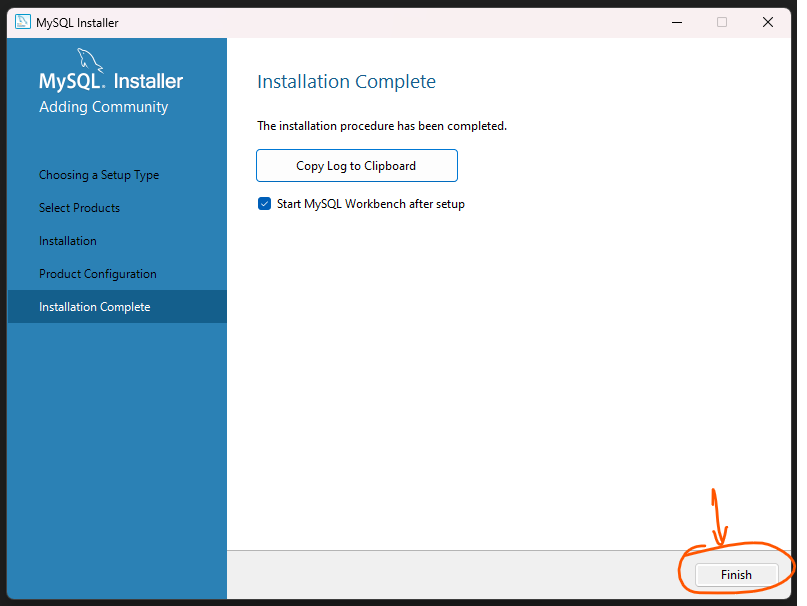
Run the installer and follow the prompts to install MySQL. During the installation, you will be asked to choose a setup type. Select the "Server Only" option to install just the MySQL server.
-
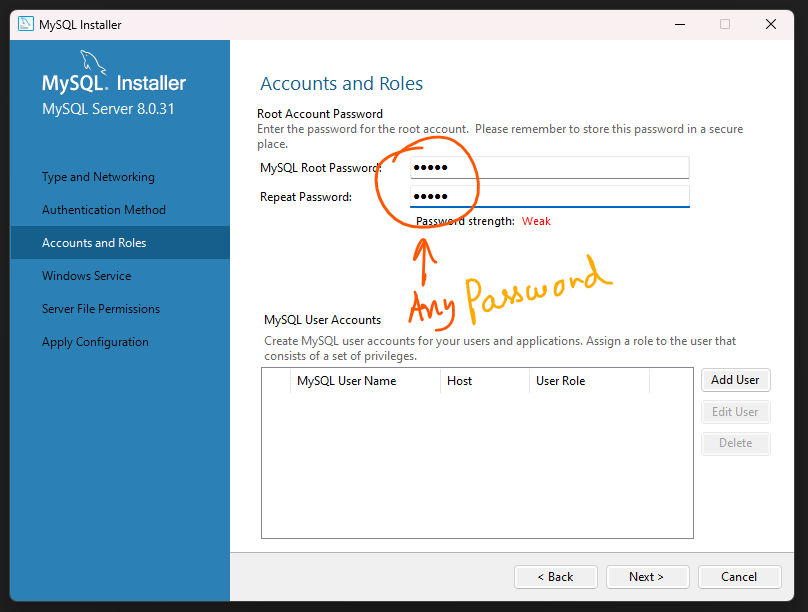
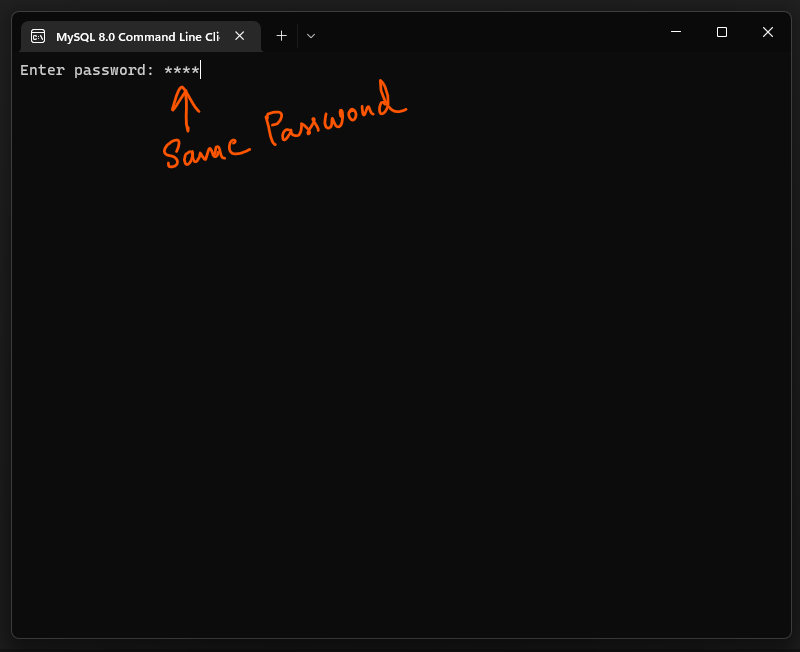
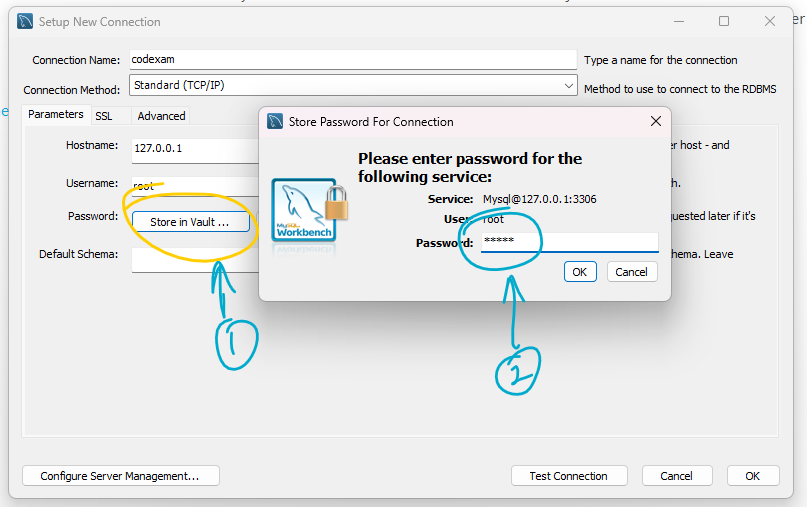
After the installation is complete, you will be asked to set the root password for the MySQL server. Choose a strong, secure password and make sure to remember it.
-
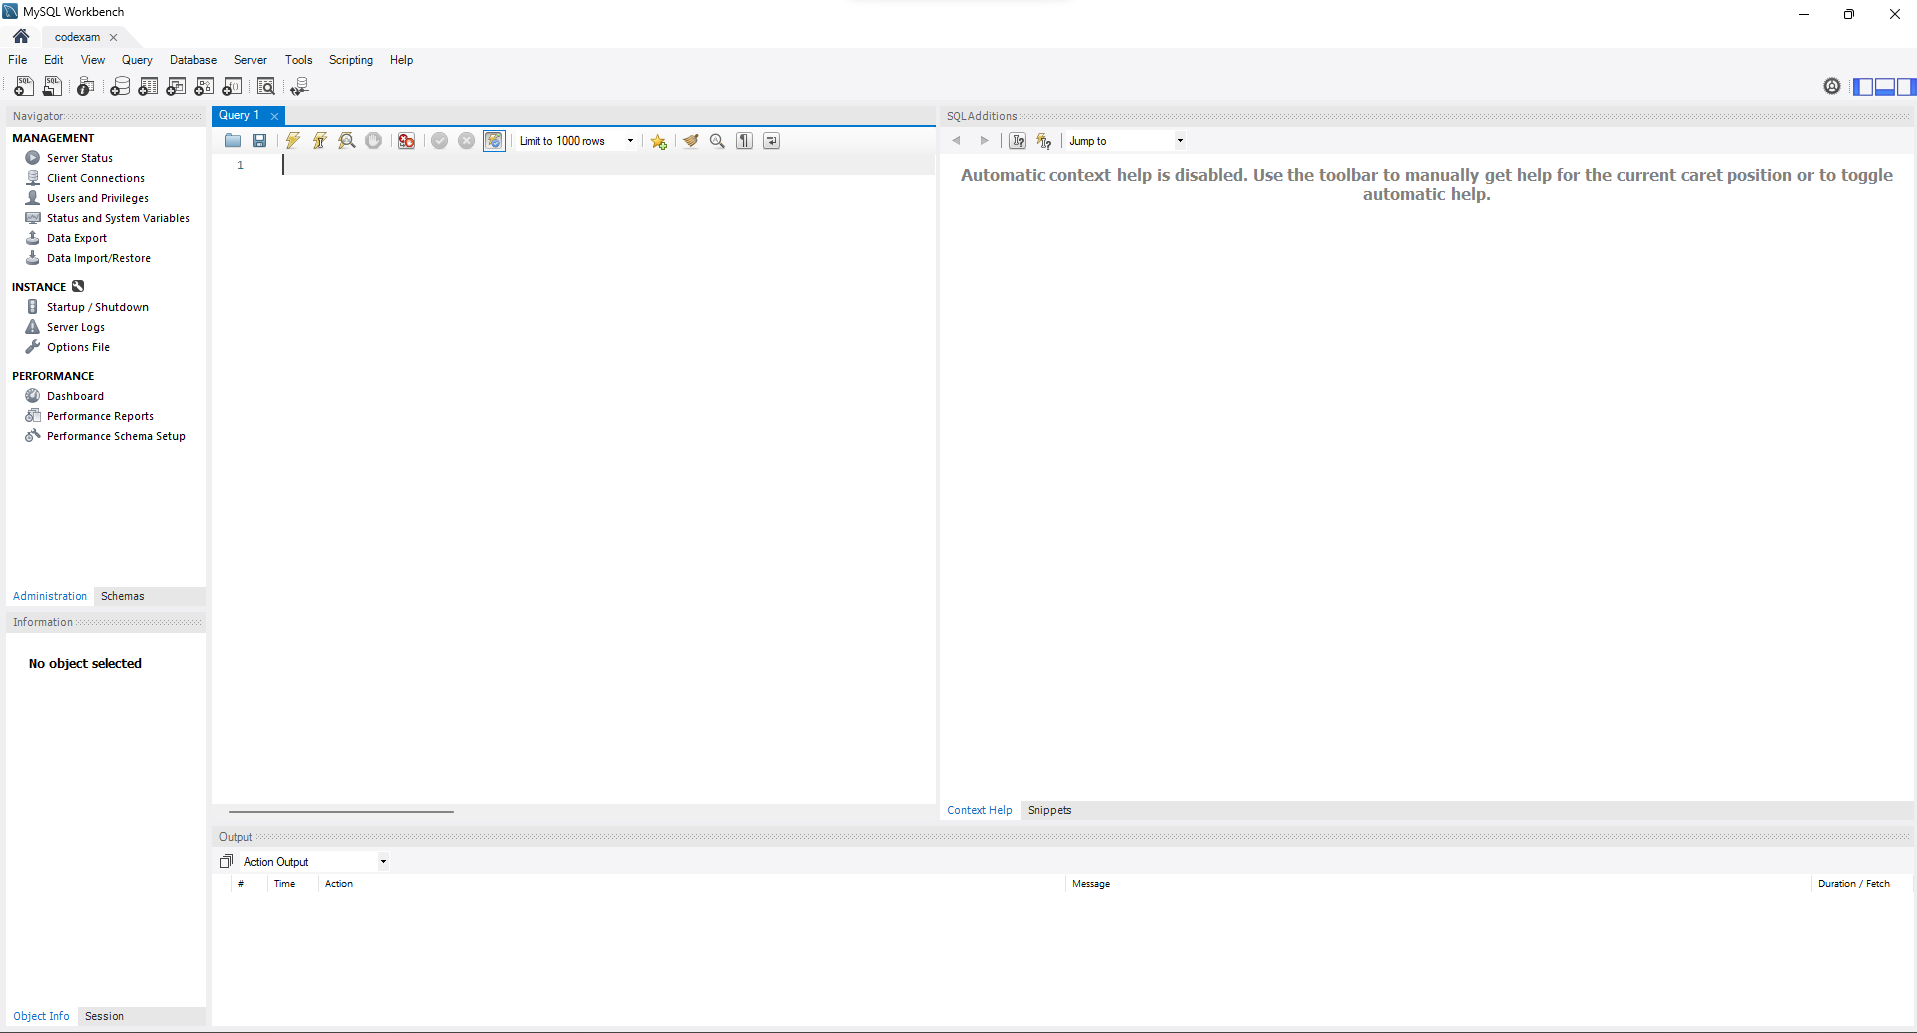
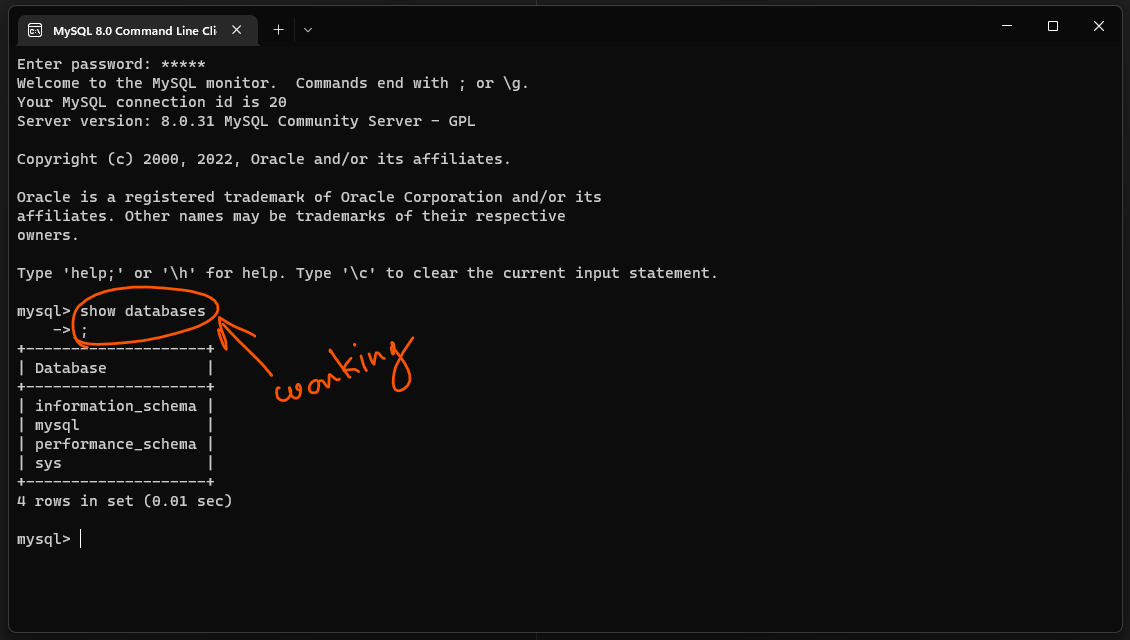
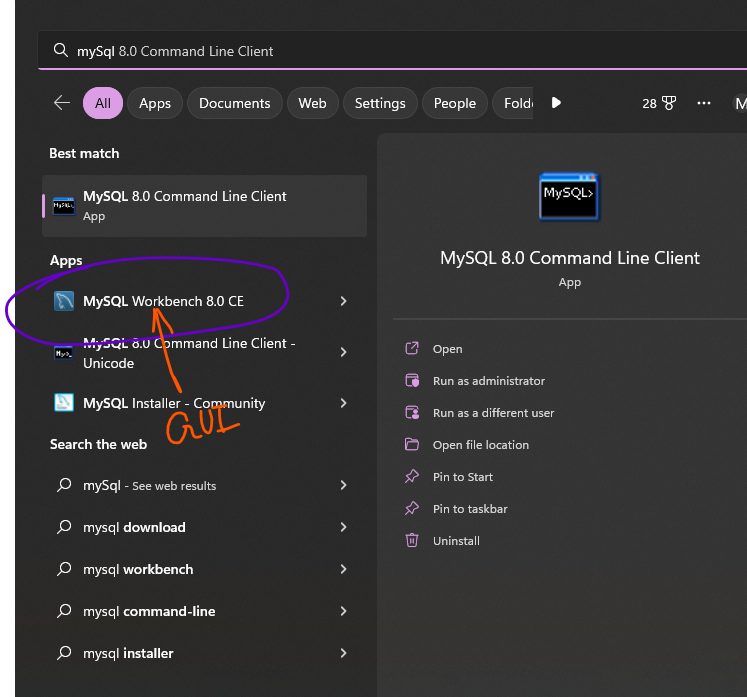
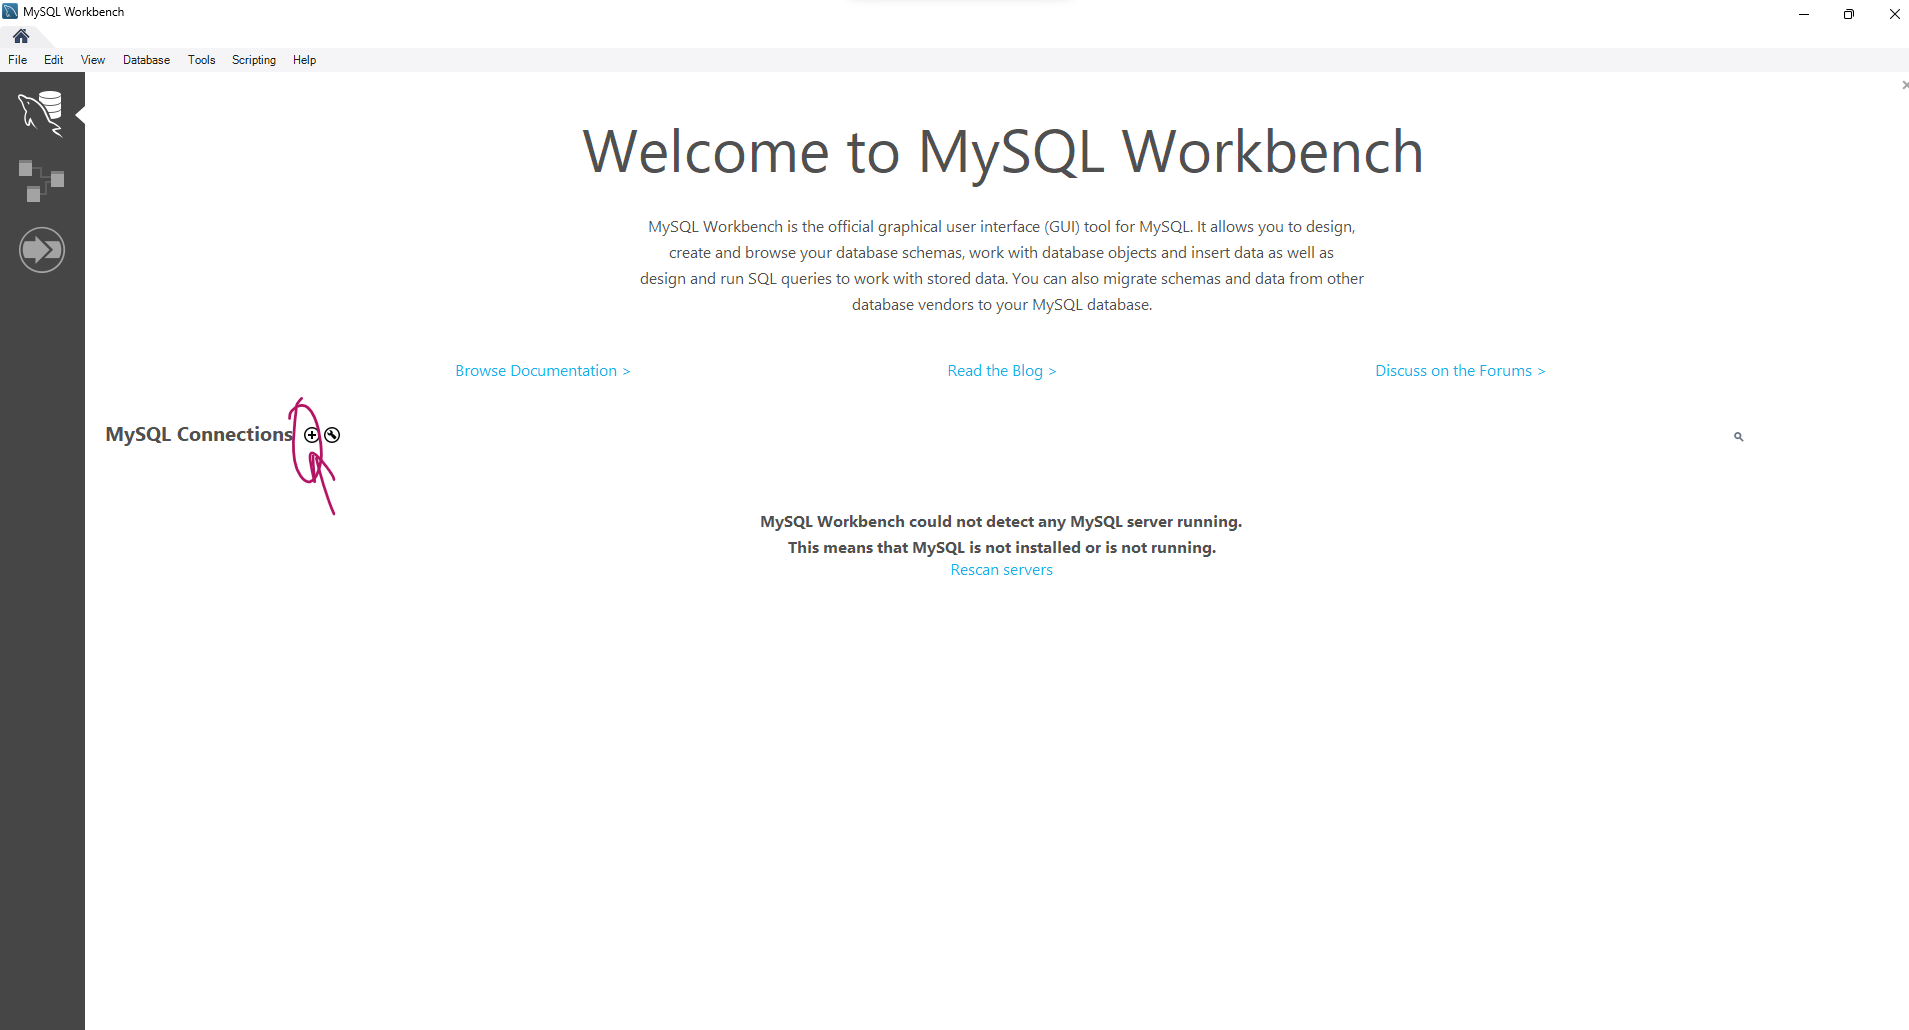
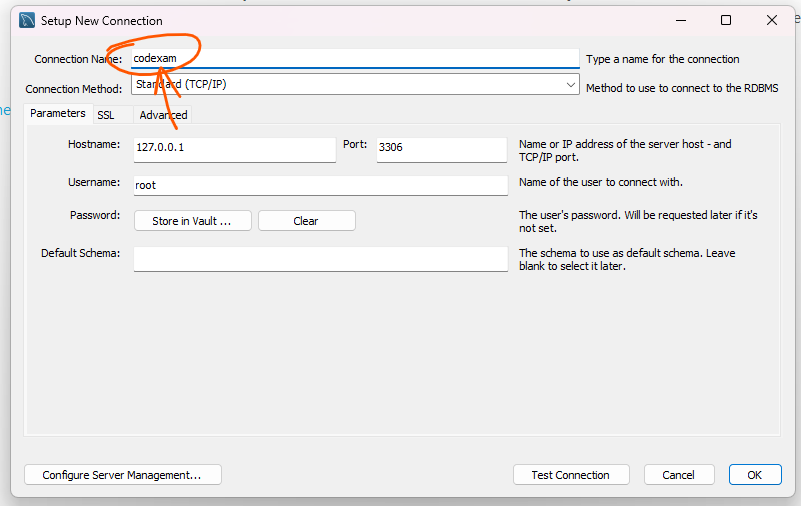
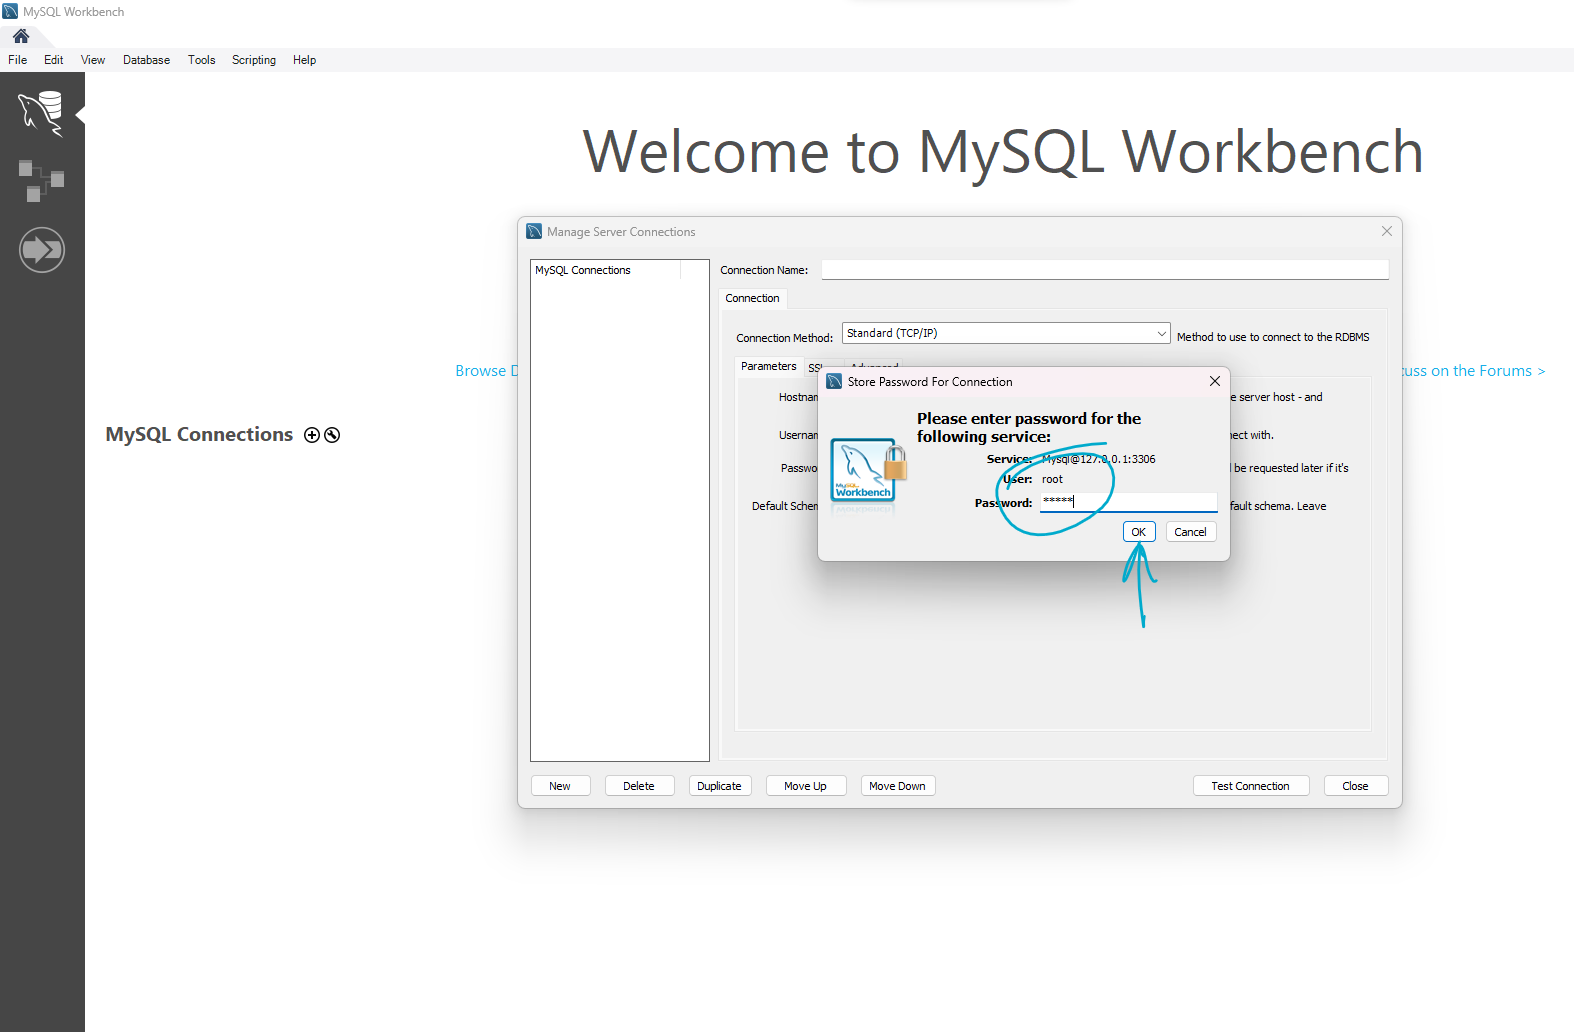
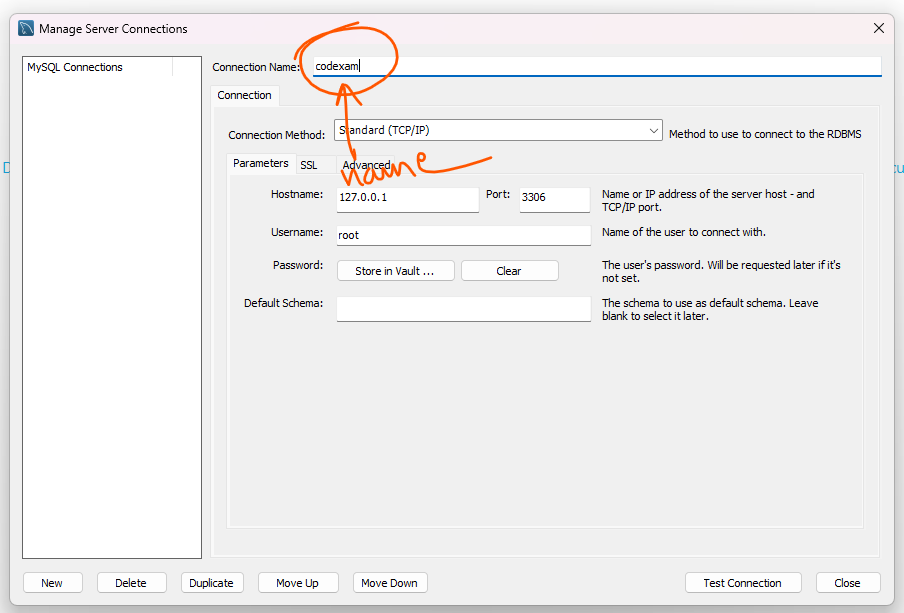
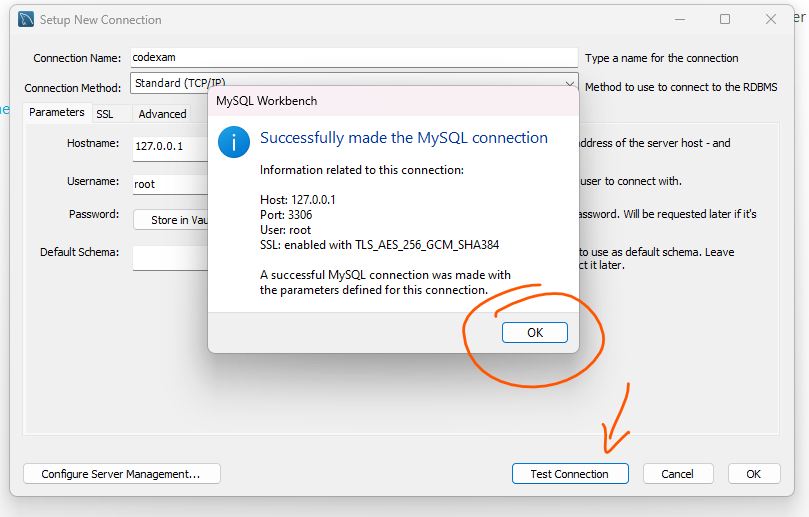
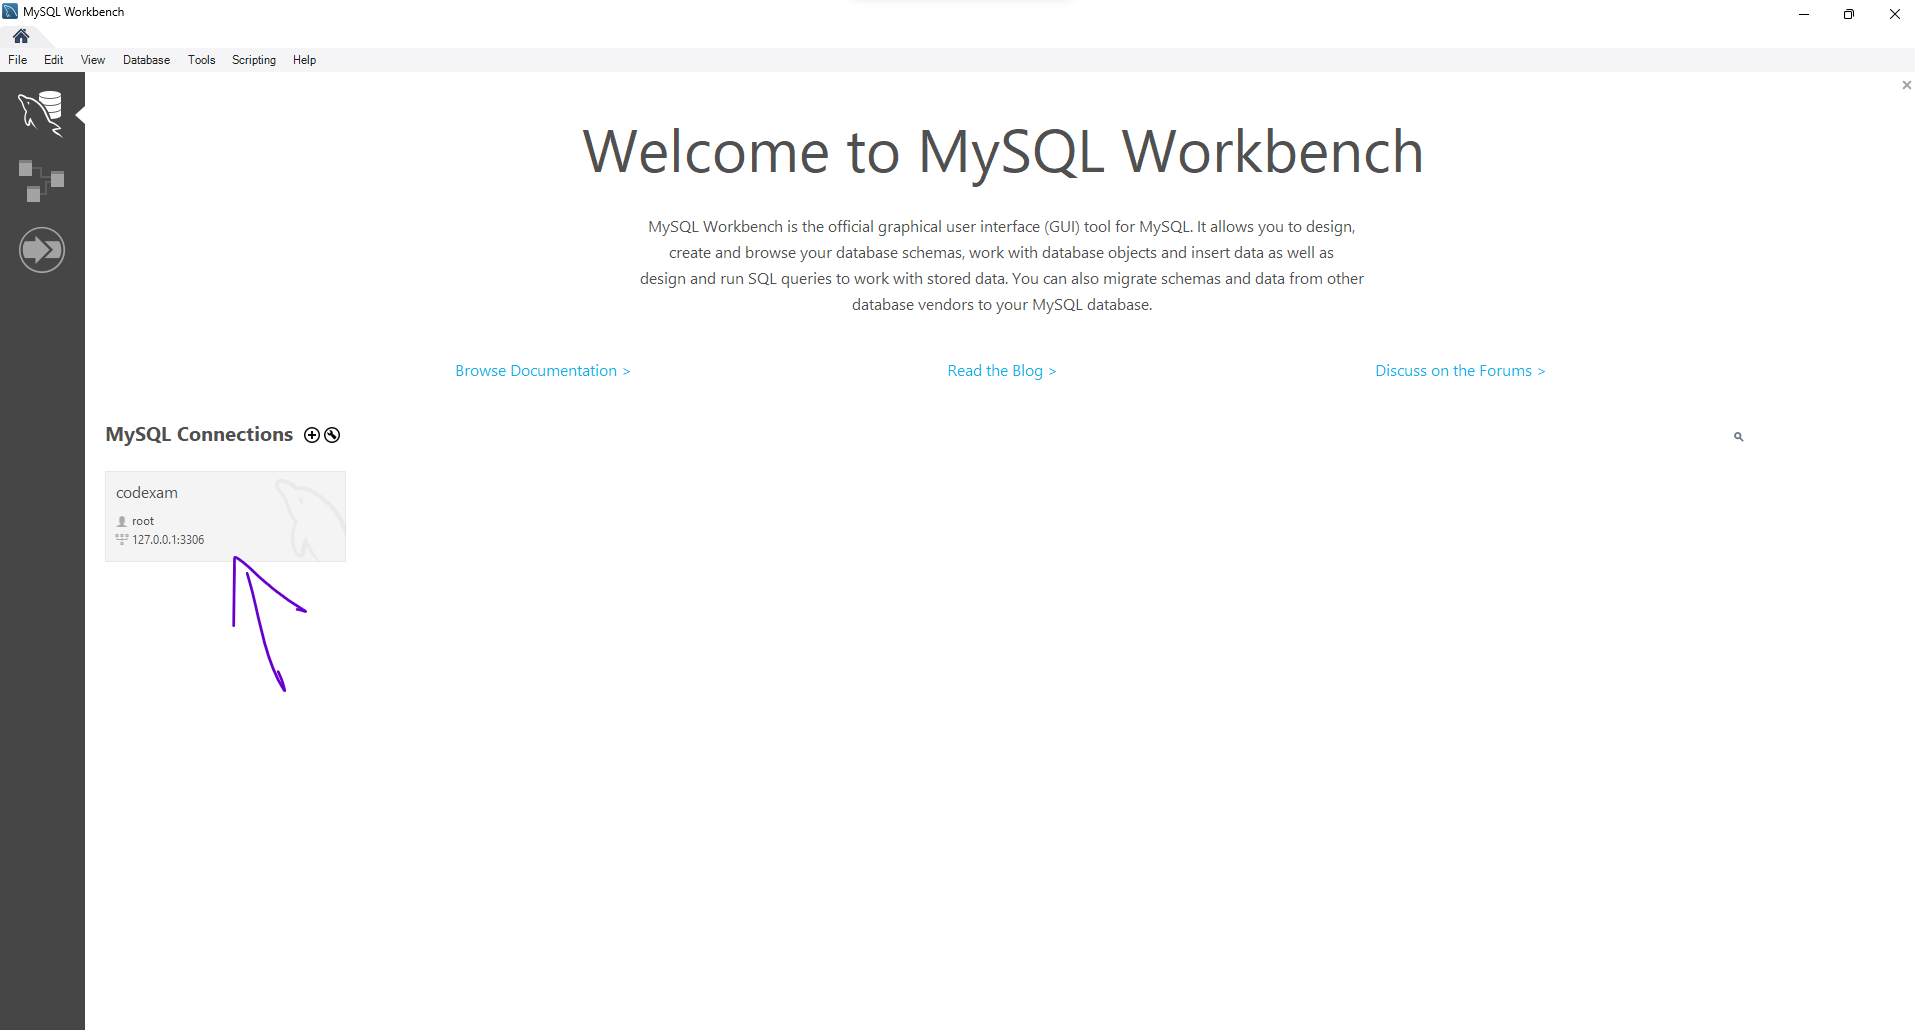
Once the password is set, the MySQL server will be automatically started. You can check the status of the server by opening the MySQL Workbench, which is a graphical tool for managing MySQL servers and databases.
-
To create a new database, open the MySQL Workbench and click on the "Create a New Schema in the Connected Server" button. Enter a name for the database and click "Apply" to create it.
-
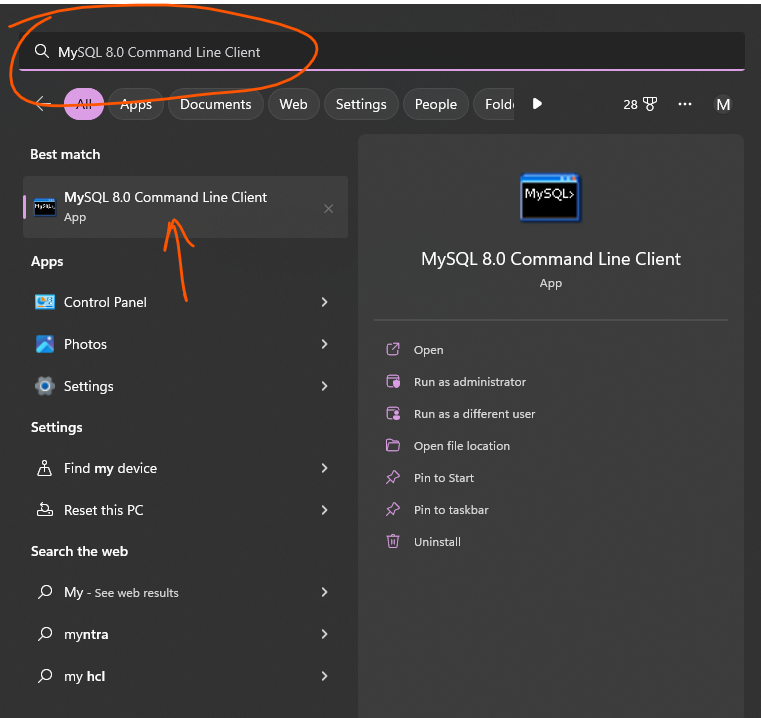
To connect to the database from a Java application, you will need to include the MySQL connector library in your project. You can download the connector from the MySQL website (https://dev.mysql.com/downloads/connector/j/ (opens in a new tab)) and add it to your project's classpath.
Step By Step Guide
Step 1:
Step 2:
Step 3:

Step 4:
Step 5:

Step 6:
Step 7:
Step 8:
Step 9:
Step 10:
Step 11:
Step 12:
Step 13:
Step 14:
Step 15:
Step 16:
Step 17:
Step 18:
Step 19:
Step 20:
Step 21:
Step 22:
Step 23:
Step 24:
Step 25:
Step 26:
Step 27:
Step 28:
Step 29:
Step 30: